I’m now in heavy production mode for the upcoming Southwest Wings Birding and Nature Festival in southeastern Arizona (see Events for details). Some of the objects I’m making in small batches are smooth-surfaced mugs for glazing bird portraits on. Flat-bottomed, hand-built (as opposed to wheel-thrown), and intended for daily use, these mugs have proven popular items at nature festivals and among Three Star Owl‘s birding clientele. Who wouldn’t want to drink their favorite beverage out of their favorite bird mug?
I recently finished a batch for a client with a home in the Colorado Rockies, and here are a few shots of the process. One of the reasons I’d like to share these photos is so folks can have an idea of the amount of work that goes into these mugs, which have three images of a species on each cup.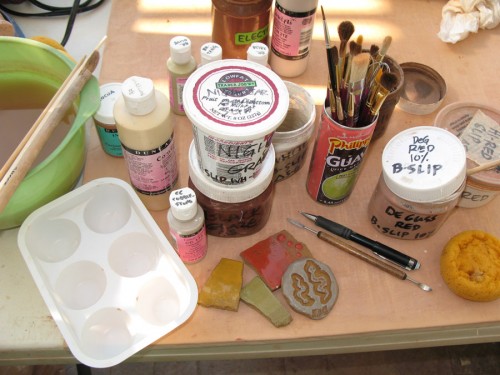
The mugs start out as flat rectangular slabs of clay that I make with a rolling pin and hardwood slats from the “home improvement center” as guides for thickness: very high tech. (Many potters have slab rollers in their studios, which are fabulous items for making clay flat, but they’re big, and I’m not giving the swamp cooler the boot when a rolling pin and some wood molding will do.) Then I curl the clay rectangles into a cylinder, seal up the side seam, add a slab base, a rim coil and a coil handle, and dry them very slowly over a period of several days.
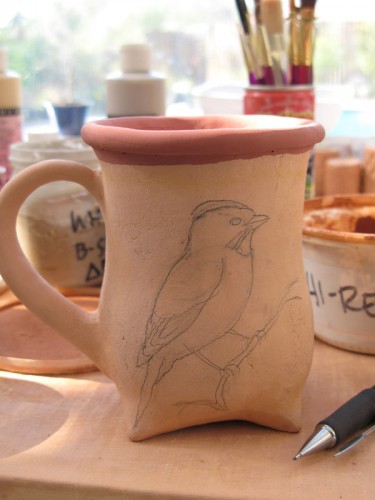
After they’re bisqued, I draw the outline sketch of the chosen bird with regular no.2 graphite pencil right on to the clay. This is convenient because I can erase pencil lines or whole drawings if they don’t go as planned (although nothing eats through erasers like rubbing on bisqued clay!), but I don’t have to remove the lines before the final firing: the temperature in the kiln is sufficiently hot to burn off the pencil completely. The photo above gives a general idea of the tools used for glazing; the one to the right shows the roughed-in pencil sketch for a Green-tailed towhee. (Remember to click on any image you’d like a closer look at).
The next step is glazing the interior: that happens before glazing the images on the outside, so the glaze doesn’t drip down a finished bird while pouring out the extra from the mug’s interior.
Next, I brush the glazes on. This is like painting, without the advantage of being able to see what the image will look like with its proper colors. This is because most raw glazes have very little in common visually with their finished, fired selves. They go from chalky, pastel flat patches to shiny, brightly hued areas often with brush strokes visible where the thickness of the glaze varies. These two photos show the difference between a male Western tanager, before and after:
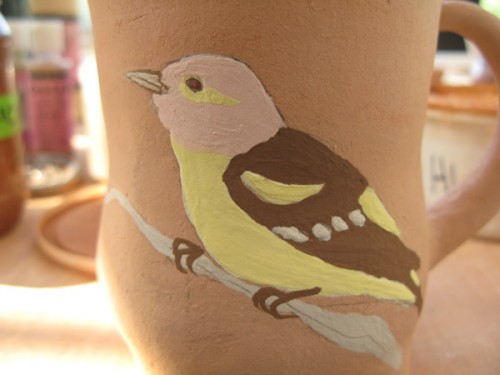
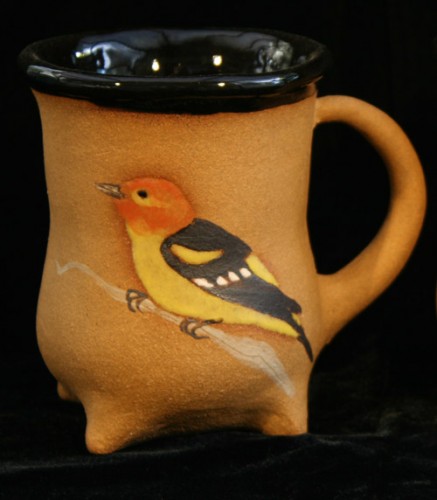
Each mug has an image of the bird on each side, often the male on one side and the female on the other, and a thumbnail sketch, usually a profile portrait of the bird, on the bottom. The bottom image must be done with matte slips, so they don’t stick to the kiln shelves during firing.
This batch of birds is spoken for, but if you’d like some of your own, contact me and I’d be happy to make you your own, with your own choice of birds (for details click on Shop). Or, come visit Three Star Owl in Sierra Vista and see what’s in stock at Southwest Wings this August.
(all photos A.Shock)
